
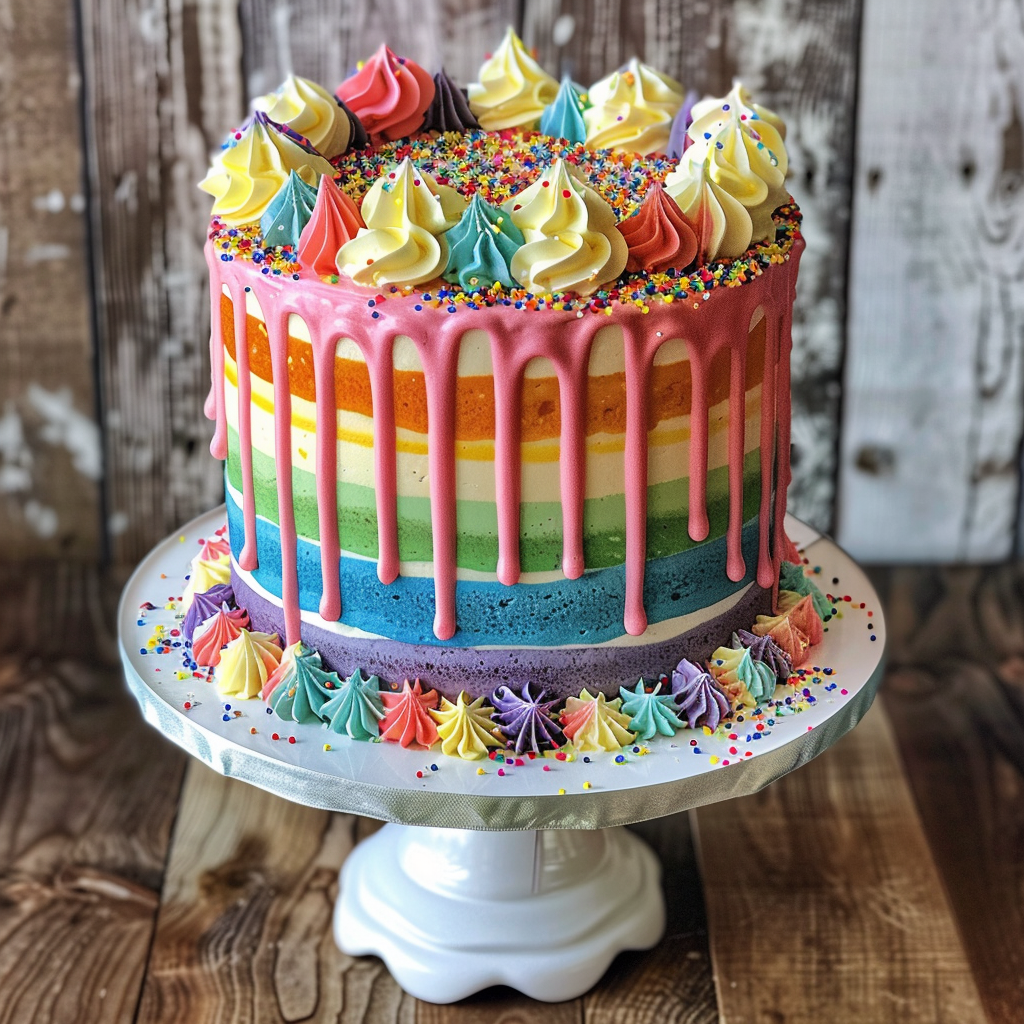
Rainbow cake is a visually stunning dessert that has captured the hearts of many with its vibrant, colorful layers and delightful taste. Originating from the creative minds of bakers who wanted to bring a splash of color to their creations, rainbow cakes have become a staple in baking culture. Their popularity continues to soar, making them a favorite for celebrations and special occasions.
Ingredients and Equipment
To create the perfect rainbow cake, you will need the following essential ingredients:
- All-purpose flour
- Baking powder
- Unsalted butter
- Granulated sugar
- Eggs
- Vanilla extract
- Milk
- Food coloring (preferably gel-based)
For the equipment, ensure you have:
- 6-8 round cake pans
- Mixing bowls
- Electric mixer
- Spatula
- Cooling racks
When choosing ingredients, it’s important to opt for high-quality butter and vanilla extract to enhance the cake’s flavor.
For a deeper dive into ingredient quality, check out The Ultimate Guide to Piña Colada Mix.
Basic Recipe
Step-by-Step Instructions
- Prepare the Cake Batter: Preheat your oven to 350°F (175°C). Grease and line your cake pans. In a large mixing bowl, cream the butter and sugar until light and fluffy. Add eggs one at a time, beating well after each addition. Mix in the vanilla extract.
- Combine Dry Ingredients: In a separate bowl, whisk together flour and baking powder. Gradually add the dry ingredients to the wet mixture, alternating with milk, beginning and ending with the dry ingredients.
- Divide and Color the Batter: Divide the batter evenly into six bowls. Add a different food coloring to each bowl and mix until the color is uniform.
- Bake the Layers: Pour the colored batter into the prepared cake pans. Bake for 15-20 minutes or until a toothpick inserted into the center comes out clean. Let the cakes cool completely on cooling racks.
Tips for Perfect Layers
- Use gel-based food coloring for more vibrant colors without altering the batter’s consistency.
- Ensure all cake layers are the same thickness for a uniform look.
Common Mistakes to Avoid
- Overmixing the batter can result in a dense cake.
- Not allowing the cakes to cool completely before stacking can cause the layers to slide.
Advanced Techniques
Using Natural Food Coloring
For those who prefer natural ingredients, natural food coloring can be used to achieve beautiful hues. Consider using:
- Beet juice for red
- Turmeric for yellow
- Matcha powder for green
- Blueberry juice for blue
Creating Ombre and Gradient Effects
To create an ombre effect, gradually increase the amount of food coloring in each layer. For a gradient effect, blend one color into another by combining a small amount of adjacent colors.
Flavor Variations for Each Layer
Experiment with different flavors for each layer to make your rainbow cake even more exciting:
- Raspberry for red
- Orange zest for orange
- Lemon for yellow
- Matcha for green
- Blueberry for blue
- Lavender for purple
For more unique flavor ideas, consider reading about Upside Down Pineapple Cake Recipe and Tips.
Decorating Ideas
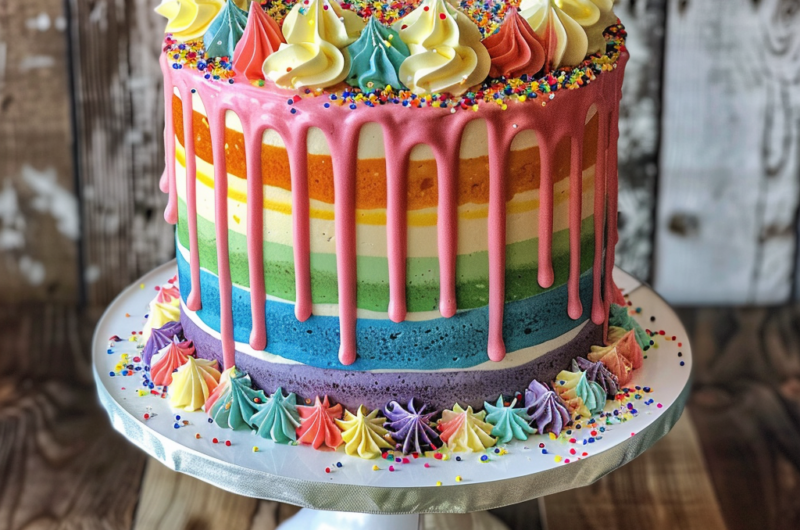
Simple Frosting and Decoration Tips
- Use a classic buttercream frosting for a smooth finish.
- Apply a crumb coat before the final layer of frosting to trap loose crumbs.
Creative and Elaborate Decorating Ideas
- Add edible glitter or sprinkles between each layer for a surprise effect.
- Use fondant to create decorative shapes and figures that match your celebration theme.
How to Use Fondant for Rainbow Cakes
Fondant allows for a smooth, professional finish and can be rolled out and draped over the cake. Add fondant decorations for extra flair.
Special Occasions and Themes
Rainbow Cakes for Birthdays and Celebrations
Rainbow cakes are perfect for birthdays, weddings, and any festive occasion. Their bright colors bring joy to any celebration.
Themed Rainbow Cakes
Popular themes include unicorn and tie-dye cakes, which can be achieved by mixing pastel colors and using creative decorating techniques.
Seasonal Variations
Create seasonal variations by incorporating seasonal fruits and colors, such as pastel shades for spring or deeper hues for autumn.
Healthier Alternatives
Gluten-Free Rainbow Cake Recipe
Replace regular flour with a gluten-free flour blend to make a gluten-free rainbow cake. Ensure all other ingredients are gluten-free as well.
Vegan and Allergy-Friendly Options
Substitute eggs with flaxseed meal and water, and use plant-based milk and butter to make a vegan rainbow cake. Check for any other allergens and use suitable alternatives.
Reducing Sugar and Using Natural Sweeteners
Reduce sugar by using natural sweeteners like honey or maple syrup. Adjust the recipe to ensure the right consistency and sweetness.
FAQs
Common Questions About Rainbow Cake
- How long does a rainbow cake last? Rainbow cakes can last up to a week if stored properly in an airtight container in the refrigerator.
- Can I freeze rainbow cake? Yes, you can freeze rainbow cake. Wrap it tightly in plastic wrap and aluminum foil to prevent freezer burn.
How to Store and Preserve a Rainbow Cake
Store your cake in an airtight container at room temperature for up to three days, or refrigerate for up to a week.
Tips for Transporting a Rainbow Cake
- Use a sturdy cake box for transport.
- Keep the cake cool to prevent the frosting from melting.
Conclusion
Creating a rainbow cake is a fun and rewarding experience that allows for endless creativity. From choosing the perfect ingredients to mastering advanced techniques, there’s a lot to learn and enjoy. So, gather your ingredients, follow these tips, and bring a burst of color to your next celebration with a stunning rainbow cake!
For more delicious cake ideas and baking tips, visit Rigev.
The Ultimate Guide to Rainbow Cake
Course: Desserts12
45
minutes2
hours20
650
kcalIngredients
- Cake Batter
3 1/4 cups all-purpose flour (390g)
1 tbsp baking powder (12g)
1/2 tsp salt (2.5g)
1 1/2 cups unsalted butter, room temperature (340g)
2 cups granulated sugar (400g)
4 large eggs
1 tbsp vanilla extract (15ml)
1 1/4 cups whole milk (300ml)
Gel-based food coloring (red, orange, yellow, green, blue, purple)
- Buttercream Frosting
2 cups unsalted butter, room temperature (450g)
8 cups powdered sugar (960g)
1/2 cup heavy cream (120ml)
2 tsp vanilla extract (10ml)
Pinch of salt
Directions
- Preheat and Prep
- Preheat your oven to 350°F (175°C)
- Grease and line six 8-inch round cake pans with parchment paper
- Make the Cake Batter
- In a medium bowl, whisk together the flour, baking powder, and salt
- In a large mixing bowl, beat the butter and sugar together until light and fluffy
- Add eggs one at a time, beating well after each addition.
- Mix in the vanilla extract.
- Gradually add the dry ingredients to the wet mixture, alternating with milk, beginning and ending with the dry ingredients. Mix until just combined.
- Color the Batter
- Divide the batter evenly into six bowls.
- Add a different gel-based food coloring to each bowl and mix until the color is uniform.
- Bake the Layers
- Pour each colored batter into the prepared cake pans.
- Bake for 15-20 minutes, or until a toothpick inserted into the center comes out clean.
- Let the cakes cool in the pans for 10 minutes, then turn out onto wire racks to cool completely.
- Make the Buttercream Frosting
- In a large mixing bowl, beat the butter until creamy
- Gradually add the powdered sugar, one cup at a time, beating on low speed until combined
- Add the heavy cream, vanilla extract, and a pinch of salt. Beat on high speed until light and fluffy
- Assemble the Cake
- Level the tops of the cake layers if necessary
- Place the purple layer on a serving plate or cake stand. Spread a layer of buttercream frosting on top
- Repeat with the blue, green, yellow, orange, and red layers, spreading frosting between each layer
- Apply a thin coat of frosting over the entire cake to create a crumb coat. Refrigerate for 30 minutes
- Apply the final layer of frosting, smoothing it out with a spatula.